The first of several posts for today.
This is one of several posts unveiling some work I’ve done recently that’s been under wraps because it was for a friend’s birthday and I didn’t want to spoil her surprise.
Several years ago I bought a quantity of these small papier mache boxes at a craft show. I have altered a few over the years and decided to do one for this friend, and I thought I would do the base layer on several simultaneously.
When I bought the boxes, they were brown in colour, and I immediately painted them all with gesso in readiness for altering.
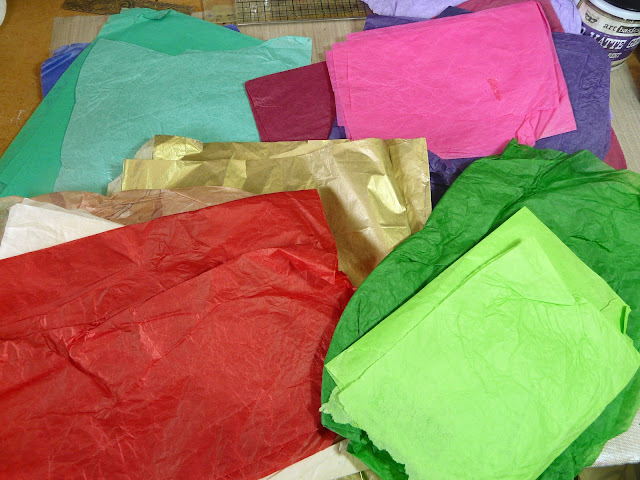
The base for these four boxes is tissue paper collage. I chose a selection of coloured tissue papers from my stash. Every time I receive a gift wrapped in tissue paper I keep it, and I’ve now got quite a nice collection of different colours. They are all recycled.
A lesson I learned from embellishing these boxes from before was that if you decorate the sides of the boxes right to the top, the lids won’t go on! They are a perfect fit in their unembellished state. The first step, therefore, is to put the lid on and draw a pencil line around the box to indicate how far up the decoration can go.
I tore some of the tissue paper into strips. All paper has a “grain” and is stronger in one direction than the other, but I have noticed with tissue paper that this is very pronounced indeed, and in one direction it is impossible to tear it in any controlled way; a right angles, it tears straight down.
Here are the boxes with their tissue paper collage applied with soft matt gel medium. If you use firmer gel medium it tends to rip the paper. The boxes are upside down, drying. You can see that I have left the top edge of each box uncovered.
The lids covered, awaiting trimming.
Once they were dry, I trimmed around the edge of the lids with scissors.
The pink and blue/green boxes were too brightly-coloured and with too much contrast for what I wanted, so I proceeded to paint them with an acrylic glaze made with titanium white and some acrylic polymer (better than water for diluting the paint, as it does not affect the adhering quality of the paint). Here is the first one, together with its lid, so far unpainted, to show the difference.
The two boxes with their coat of acrylic glaze.
At this stage I still wasn’t quite happy with them, and set them aside to work on later, while I looked at the other two. The green one I decided to leave as it was for now.
For the brownish one, I had used some tissue paper that had some printing on it (I think this was wrapped around some flowers that I was given, and I kept it because it was unusual). You can see the darker lines in the brown tissue paper in the following photo. I didn’t want to lighten this box, but added a glaze made with transparent yellow iron oxide paint. One coat of this didn’t make too much difference, so I added some more of the neat paint, sparingly, which gave a lovely golden effect.
I dabbed on some Distress Stains in various colours on the boxes (some Tarnished Brass on the brownish-green box, and some Brushed Pewter on the blue-green one) and spread it around with a soft brush. Not a lot of difference in appearance but a nice shimmery finish. It did bobble up a bit, being water based on the acrylic gel medium but it seems to have dried OK.
This is the completion of the first stage in altering the boxes. I shall be doing further blog posts about them as I complete them, including the blue-green one which I had ear-marked for my friend’s birthday present. Please see the next post for the completion of this box.


I think I've seen those boxes around! I feel inspired to buy some next time I bump into them!
ReplyDelete